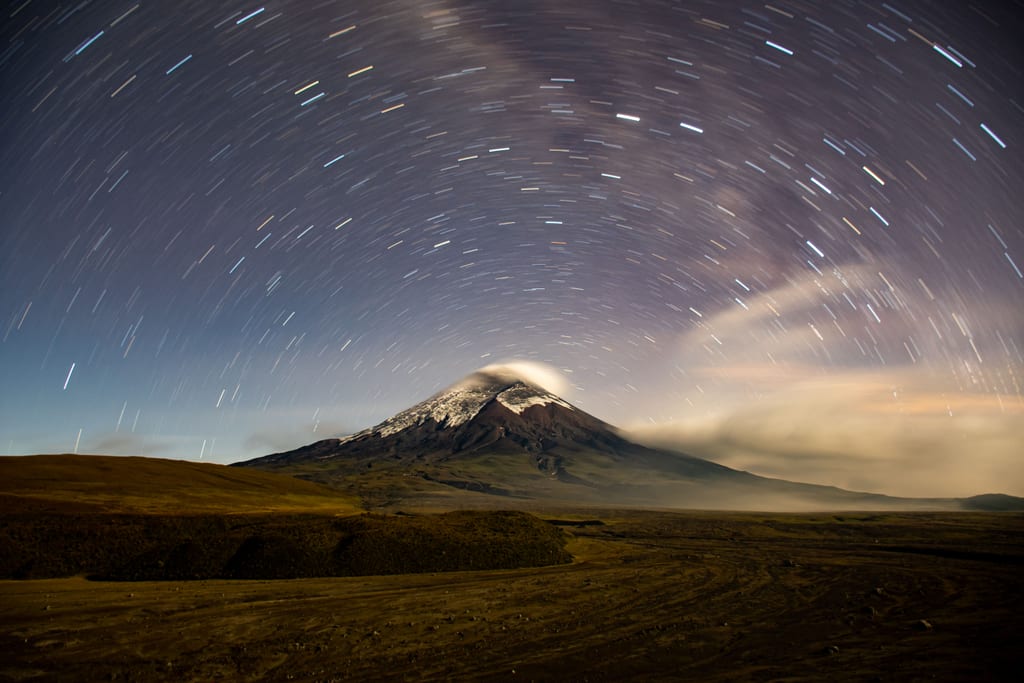
Milky Way photography looks intimidating from the outside — total darkness, manual everything, a subject you can barely see with your own eyes. In practice it's one of the most teachable skills we cover, because the workflow is nearly identical every time. Here's the exact five-step routine we run at 12,000 ft in Cotopaxi National Park.
Step 1: scout in daylight
Never compose blind. We walk the location while there's still light, decide the foreground — a volcano silhouette, a rock formation, a lone tree — and note the tripod position. Trying to frame a shot by starlight alone wastes your first thirty minutes of dark.
Step 2: focus before the sky goes black
Autofocus won't work in near-total darkness. Set your lens to manual focus while there's still a sliver of light, focus on a distant point at infinity, and tape the focus ring in place if your lens allows it. If you arrive after dark, use live view zoomed into a bright star and adjust manually until it's a tight point, not a blob.
Step 3: the starting exposure triangle
Begin at f/2.8 (or your lens's widest aperture), ISO 3200, and a shutter speed around 15–20 seconds — any longer and stars start to trail into short streaks at wide-angle focal lengths. Shoot a test frame, check the histogram (not just the screen brightness), and adjust ISO up or down from there.
Step 4: nail the foreground
A pinpoint sky with a flat black silhouette below it is fine, but a lit foreground sells the photo. A single headlamp held off to the side for 2–3 seconds during a long exposure — a technique called light painting — adds just enough detail to a foreground rock or tent without blowing it out.
Step 5: shoot RAW, always
Night sky files need real post-processing latitude — lifting shadow detail, pulling back highlight clipping on the brightest stars, adjusting white balance since auto-WB guesses wildly in the dark. A JPEG simply won't hold up to that editing.
Final thought
The gear intimidates people more than the actual process does. Once you've run this five-step routine once, at altitude, in the cold, with a guide checking your settings — it becomes muscle memory for every dark-sky location after.